Free

Bold Colors

DSC_04851.jpg

The most exciting time of the year for any nerdy kid is the week before school starts. They spend the days unloading their backpack, loving looking at all school supplies, and reorganizing their crayon box. They reflect on the big questions - Dolphin folders are clearly the best for Science, but should rainbow unicorns be for Math or Social Studies? Oh, kids don't do that? No one else gets that excited about organizing? Angry Birds is ruining our youth.

One of the best things was the brand new packs of crayons and markers. The school supply list only required the basic marker set, but with enough whining  Mom could be swayed to get a second set of markers. Bold colors. The best freaking colors on the planet - raspberry, emerald, azure, goldenrod. You had better recognize, kids who picked on me. There's a new pack of markers in town.

BOLD COLORS!

(at this point, you might have picked up on a few of the factors that contributed to the teasing)

I didn't realize until halfway through this quilt that I had borrowed my 8-year old self's favorite color pallet. I'm sure the next niece, Izzabella, will also love it, because the kids want to be just like yours truly.

Bold Colors Quilt

When it's done, the quilt looks like this.

Finished size: 46″ square

Materials

  • 1.75 yards white background fabric (44" quilters cotton)
  •  1/3 yard each of four different color fabrics (44" quilters cotton)
  • 50" piece of batting
  • 1.5 yards 56" wide backing fabric
  • 3/8 yard binding fabric
  • Sewing thread and other notions

Making the Hourglass Blocks

This tutorial shows you how to make these as fast and easily as possible.

Cut

  • From each of the colored fabrics cut seven 5.5" squares (one strip 5.5" x width of fabric, cut to seven 5.5" squares)
  • From the white, cut twenty-eight 5.5" squares (four strips 5.5" x width of fabric, each cut to seven 5.5" squares)

Follow the linked tutorial to make 56 hourglass blocks. This is 2 more than you will ultimately need. Be sure to square them up to 4.5". This will cut out a lot of bulk and help your corners match up better.

Center square

From the white, cut one 7" square (A), one 4" square (B), and sixteen 5" squares (C). Cut each square in half on the angle.

Layout your central block starting with the hourglass blocks, making sure to turn them so that colored edges touch white edges. The blocks are placed on an angle with the white triangles filling in the edges to make it square.

There are nine rows of hourglass blocks. Starting in the lower left, the rows are:

  • 2 blocks
  • 4 blocks
  • 6 blocks
  • 8 blocks
  • 10 blocks
  • 8 blocks
  • 6 blocks
  • 4 blocks
  • 2 blocks

Triangles A go in the lower left and upper right. Triangles B in the upper left and lower right. Triangles C fill in the sides.

Sew each column of blocks together. Press the seams, and then sew the strips together to create the square. I recommend leaving the blocks laying out on the floor as you do this, because it can be easy to get a triangle rotated incorrectly.

Press the seams like crazy.

Add a white border

From the white, cut two 3.5" x 32" strips and two 3.5" x 38" strips.

Sew the shorter strips to the top and bottom. Press seams.

Sew the longer strips to the sides.

Press seams.

1" squares border

This is where you risk becoming a crazy person. A bunch of 1" blocks sounds like it wouldn't be that bad, but you might go nuts halfway through. Fair warning.

This angle make the border look like it goes on forever? What a coincidence.

Cut 1.5" x length of the fabric

  • 12 from the white fabric
  • 3 from each of the colored fabrics

Sew a white strip to each of the colored strips. Press the seams toward the color.

Sew each of these strips lengthwise to another one, so that you have six pieces of fabric that are striped color - white - different color - white.

Press them very well.

Cut the strips down to 1.5" x 5" rectangles.

Sewing along the 5" side, join 38 of these into a long strip. Do your best to line up seams. Be sure that the blocks always alternate white - color - white - color. Repeat until you have four total border pieces.

Sew an hourglass block to each end of two of these border pieces. Press the borders like crazy.

Pin the borders without the hourglass ends to the top and bottom of the quilt. Sew them on and press. Sew the remaining borders to the other side.

Press the whole quilt top well.

Back, bind and quilt.

I quilted the hourglasses like this.


Izmir hat pattern

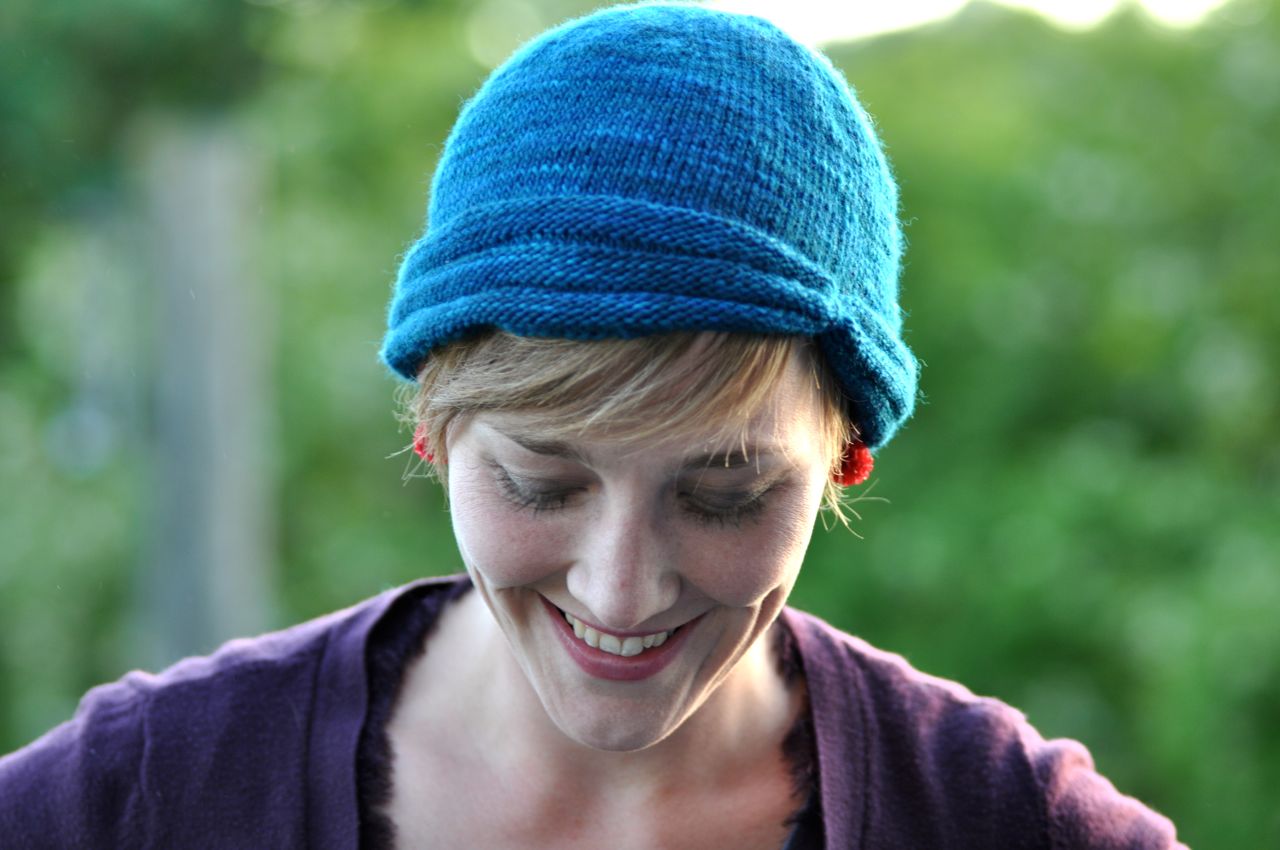
A buttonless hat.

A buttonless hat.

This hat gets its name from the gorgeous blues of the tiles produced in Izmir, Turkey. The 8,000 year old city was a huge producer of striking Turkish tiles for centuries during the Ottoman Empire.

Or so I was told when I visited Turkey. The internet will only confirm with questionable resources. What I can reliably say is that Turkey remains a huge textile producer.

Supplies

  • 36 grams (140 yards) 100% wool heavy fingering weight yarn (440 yards to 113 grams). Mine was knit using Sappho II in Salt Under the Sea.

  • US size 6 (4 mm) double pointed needles

  • Tapestry needle

  • Markers

Notes

  • K - Knit

  • P - Purl

  • PM - Place marker

  • M1 - Make one, using your preferred method (here are some options). I did the raised increase.

Size

23-24" head circumference (average adult female)

Gauge

24 sts per 4 inches (10 cm) in stockinette stitch knit in the round. Row gauge is not critical.

Note: this hat does not have much stretch so stitch gauge is important.

Setup

Cast on 8 sts and join to work in the round.

Next round: M1 in all sts (16 sts total)

Next round: *K2, pm*. Repeat from * to * to end of round.

Crown shaping

  • Round 1: *K to marker, M1, slip marker*. Repeat from * to * to end of round.

  • Round 2: Knit all sts, slipping markers as you come to them

Repeat rounds 1 and 2 until you have 120 sts on your needle (15 sts between each marker). Pro tip: if you don't want to check your gauge (who does?) you can put the hat on a long circ or scrap yarn and try it on. Once it's the size you need, continue on, even if  your stitch count does not match 120.

Knit all sts until work measures 6" from the crown, removing markers as you come to them.

psst. your mullet is showing..

psst. your mullet is showing..

Brim

Note: if you want a clear indicator of where to wrap the yarn later, you can tie a scrap piece of yarn to the first stitch of the round. 

Work the following twice:

  • Purl all sts for 5 rounds

  • Knit all sts for 3 rounds

Purl all sts for 5 more rounds (3 ttl purl ridges).

Knit one round.

Bind off knit wise.

Break yarn leaving a long (~18") tail. Thread the tail onto a needle and wrap the yarn around the purl ridges. If you chose to place the scrap yarn, you will be threading the tail through the stitch marked and then around the bottom of the hat. Wrap about 10-15 times. If you want to add a button or decorative element, use the tail to attach it. If you have a marker, cut it out.

Sew closed the hole from the cast on, and weave in ends. Look like a princess in here most beautiful hat.

Pull tight when wrapping the knot.

Pull tight when wrapping the knot.

Jericho Knit Baby Blanket

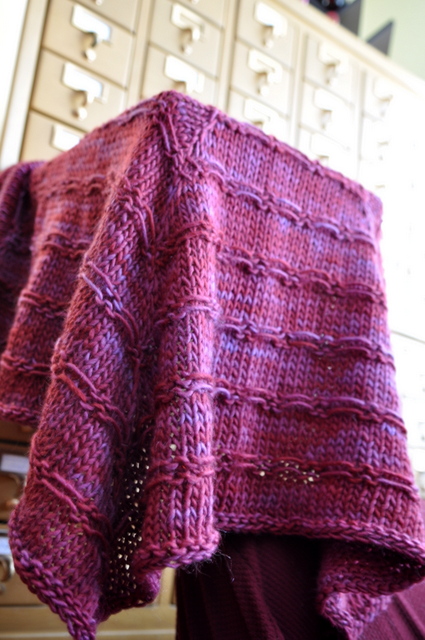
My four year old niece and 6-month nephew will staying with me and the fella for a week or so starting Friday. I have been stocking up on ideas to make me the best stay at home aunt ever. I have enough to last through day 2. After that: television. Aunts can get away with that. I'd designed this blanket to use up some yarn I've had laying around since 2009, and decided to name it after the impending invasion. Seven days running around a city and then shouting loud enough to knock down city walls? That sounds about right.

This photo was taken on a peaceful morning. So much for those.

This blanket uses the same start in the center and work your way out construction as my lotus and stripe seven baby blankets. I love this construction because you it's very forgiving if you're off gauge or are unsure about the amount of yarn you have. You just start knitting and bind off when you start running low or are sick of working on it.

Just enough to keep it interesting.

This blanket knit up SUPER fast. Size 11's, chunky yarn, and almost all knit stitches. I think it took me all of a week from start to finish.

Those lines of "walls" remind me just a bit of the noise emanating from a temperamental 4 year old.

I'm experimenting with new software, so I actually put this into a PDF. Lucky you!

Download Jericho Baby Blanket Knitting Pattern

Baby Season

baby-boy-closeup1.jpg

I'm waiting for science to prove that children, like tomatoes and trashy television, come in seasons. Friends, family and coworkers are bringing home bundles of joy left and right, and here is another welcome quilt.  Despite doing more quilting in the last few months than in the prior year, this officially puts the baby gift stockpile at one quilt. It's possible my friends like each other too much. I tend to be more attracted to color and texture, rather than than cute prints. If anyone asks, it's because I'm too classy for the cutesy prints, and not at all because my brain shorts out when I look at a pile of combating colors, shapes, and sizes.

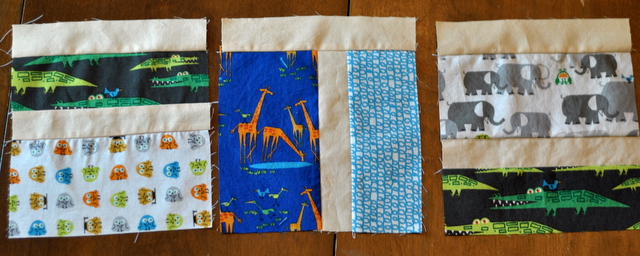
But Ed Emberley's "Happy Drawings" collection is too ridiculously little boy to pass on. Alligators, elephants and dragons. Random, sure, but so are boys. The patterns cover a range of sizes and tones, so putting together a design that would let each fabric sing was a bit of a challenge.

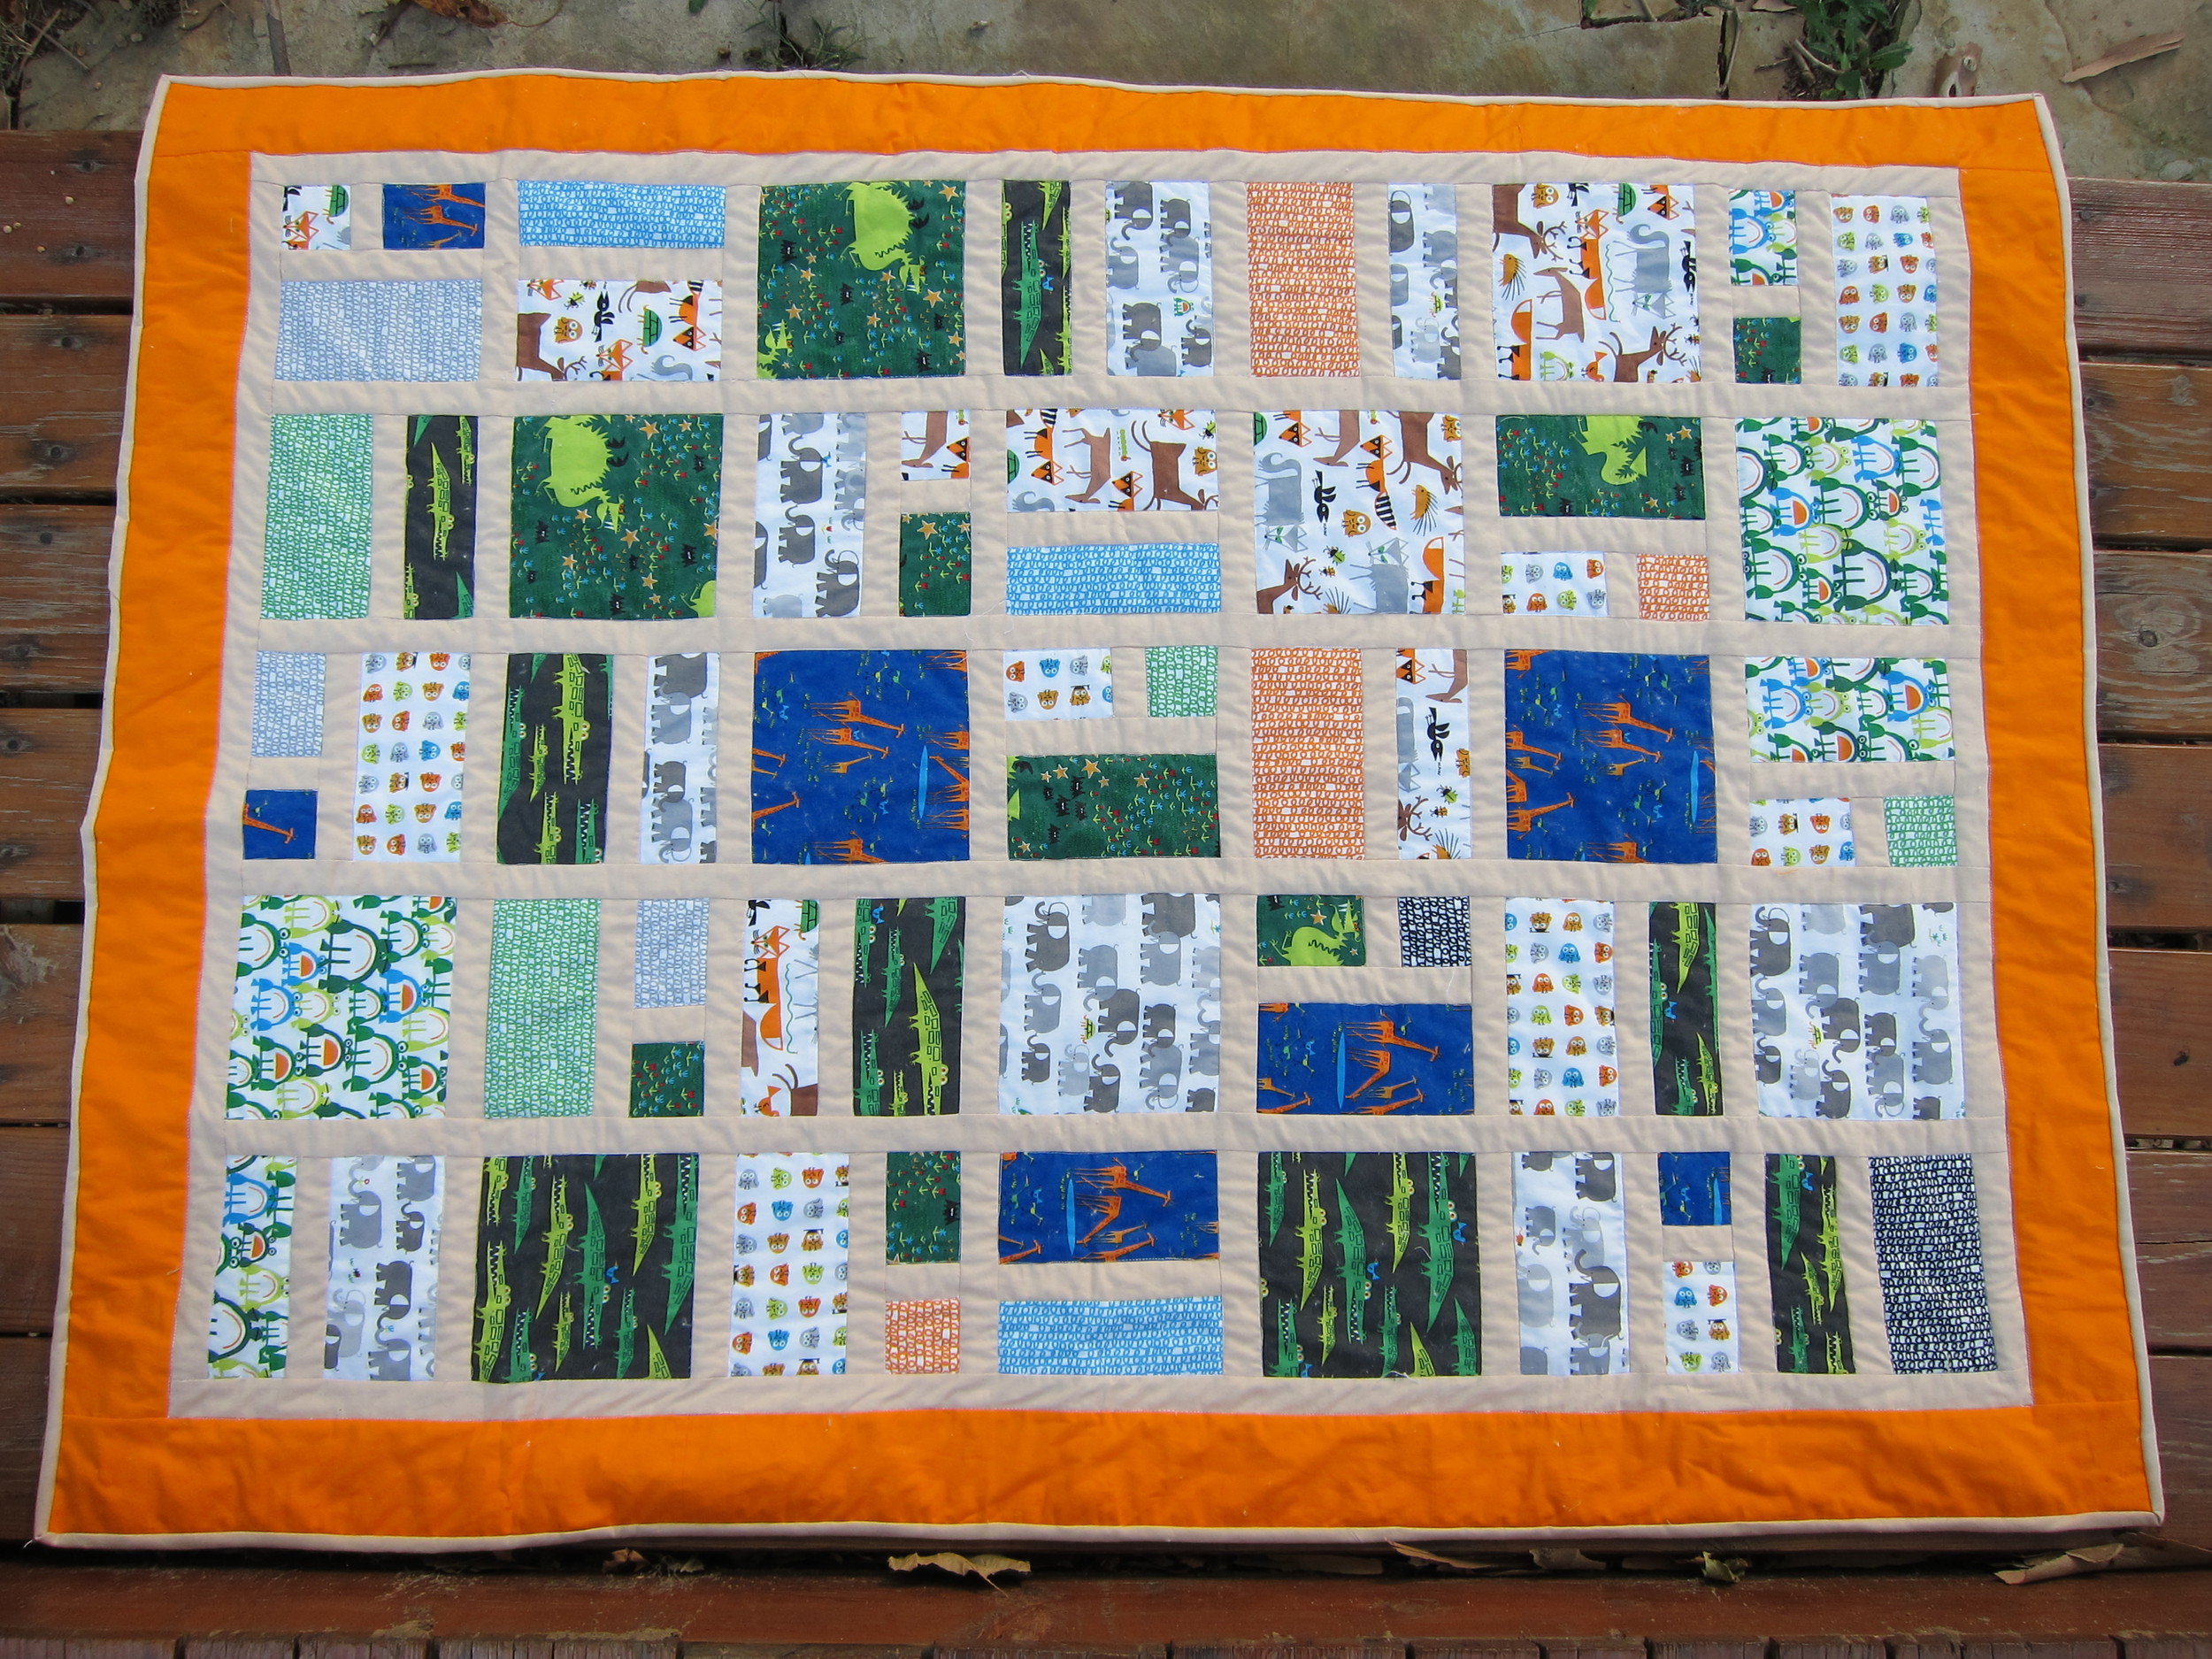
The end result is below. I'm pretty pumped. I think it's nephew-worthy.

Boy baby quilt

You will notice that this quilt is hopelessly nameless. A girl only has so much creativity, people. "Sapphires and Rubies" depleted my already parched well. So the good people over at FaveQuilts.com are having a little fun with it, and asking their readers to come up with name in their next newsletter. Have a clever suggestion to add? Leave it in the comments below.  

Edit 7/23: We have a name! Thanks everyone for voting.

Off to the Zoo Baby Quilt

Finished size: 32"x54"

Supplies

  • 1 yard sashing fabric
  • Fat Quarters or scrap fabrics. At minimum, you need five fat quarters, but you can use as many fabrics as you would like.
  • Backing fabric (I pieced my back from scraps)
  • 3/8 yard binding fabric
  • Batting and other quilting notions

Cut

From the fat quarters or scrap fabric, cut the following:

  • 12 - 6.5" squares
  • 12 - 2.5"x6.5"
  • 24 - 3.5"x6.5"
  • 12 - 2.5"x3.5"
  • 12 - 2.5" squares

From the sashing fabric, cut the following:

  • 67 - 1.5"x6.5"
  • 12 - 1.5"x2.5"
  • 8 - 1.5"x49" (if you are using 40" width fabric, you will need to piece these)

Piece Blocks

Sew 12 of each block type. You should have one left over when you layout the quilt top.

Block A

  • Sew the 1.5"x6.5" sashing to the top of the 6.5" squares
  • Press seam toward darker fabric

Block B

For blocks B and C, you can change the orientation of the rectangles in order to accommodate the pattern direction and to add more variety.

block B

  •  Sew the 1.5"x6.5" sashing to the side of the 3.5"x6.5" rectangle
  • Press seam toward darker fabric
  • Sew the 2.5"x6.5" rectangle to the other side of the sashing
  • Sew the 1.5"x6.5" sashing to the side of the block

Block C

Block C

  •  Sew the 1.5"x6.5" sashing to the side of the 3.5"x6.5" rectangle
  • Press seam toward darker fabric
  • Sew the 1.5"x2.5" sashing to the bottom of the 2.5"x3.5" rectangle
  • Press seam to the darker fabric
  • Sew the 2.5" square to the other side of the sashing on the 2.5"x3.5"
  • Press seam toward darker fabric
  • Sew this piece to the other side of the sashing on the 3.5"x6.5" piece
  • Press seam toward darker fabric
  • Sew the 1.5"x6.5" sashing to the side of the block

Piecing Top

Overview of boy's quilt

Randomly layout the finished blocks into 5 rows by 7 columns.

Sew the blocks in each column together so you have five columns of seven blocks.

Press the seams.

Sew sashing fabric to the side of each column, and sew the columns together.

Sew sashing to the final side.

Press all seams and sew sashing across the bottom.

Press seams.

Finishing

Back, bind and quilt your baby quilt.

I pieced the back, using the fabric provided in the packet of fat quarters which was intended as a draft dodger. I totally planned to have beige on either side of the green - I didn't just make a horrible measuring mistake that I had to cover up. I would never make such an rookie mistake.

Back of the fat quarter quilt

Red Redux

Knit scarf pattern for man

Knit scarf pattern for man

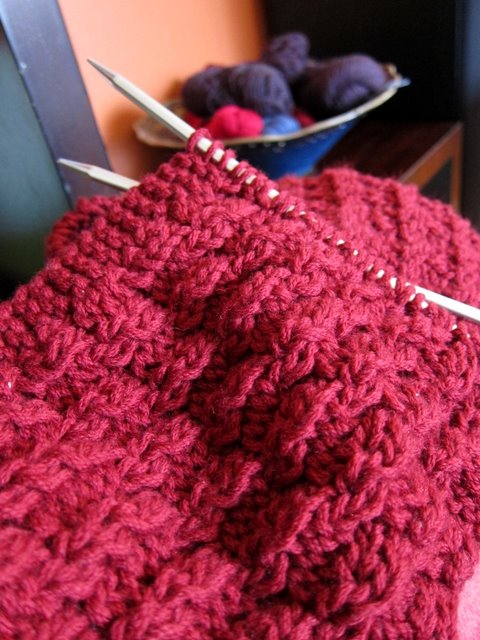
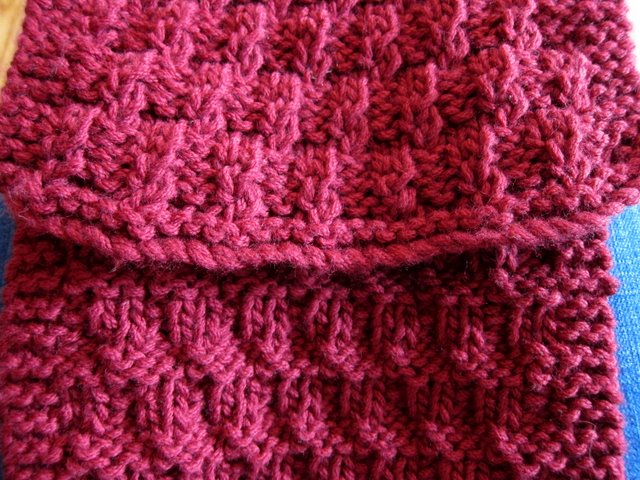
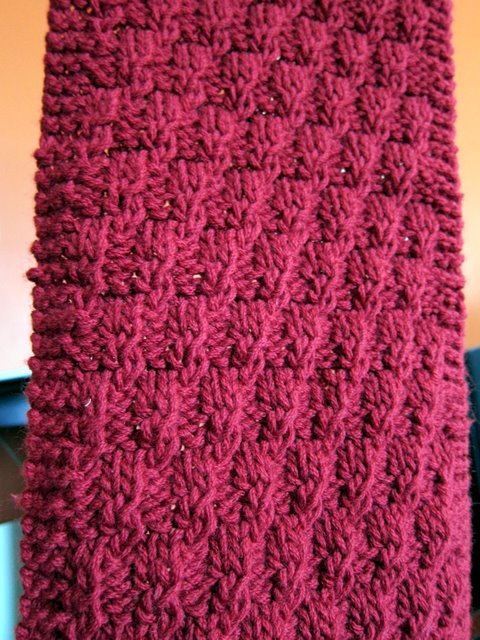
The last men's scarf pattern I wrote elicited elicited some envy, so I made another. It's a nice texture that's fast and easy to knit up. The big needles, bulkier yarn and easy to memorize pattern make this a good pattern for beginners.

Red Redux

Materials

3 skeins Plymouth Chunky Merino Superwash Color 18 (100 gr, 109 yards; 100% merino wool)

US size 10 14″ needles

Tapestry needle and scissors

Notes

The scarf is 8" wide, which is pretty wide. If you'd prefer a narrower scarf, you can reduce the width by 4 stitch increments.

K- knit

P – purl

Left Twist - (LT) - knit into the second stitch, then knit into the first, slip both stitches off the needle

Cable cast on description

mens scarf knitting pattern

mens scarf knitting pattern

Directions

Setup

Cable cast on 34 sts.

Knit three rows.

Pattern

  • Row 1: K3, *p2, LT* Repeat from * to * until final 3 sts, k3.

  • Row 2: K3, *p2, k2* Repeat from * to * until final 3 sts, k3.

  • Rows 3 & 4: Repeat rows 1 & 2

  • Row 5: K to end

  • Row 6: K3, p to final 3 sts, k3

  • Row 7: K3, *LT, p2* Repeat from * to * until final 3 sts, k3.

  • Row 8: K3, *k2, p2* Repeat from * to * until final 3 sts, k3.

  • Rows 9 & 10: Repeat rows 7 & 8

  • Rows 11 & 12: Repeat rows 5 & 6

Repeat pattern until scarf measures 60″, or you run low on yarn.

Knit three rows.

Scarf texture

Scarf texture